When you purchase a hosting plan on GoDaddy, they do offer SSL certificate for $6.67 a month. However, there are some services like Cloudflare or Let’s Encrypt which give you SSL certificates for free and compatible with GoDaddy Windows Hosting server. Let’s dive in!
Cloudflare is one of the biggest networks operating on the Internet. People use Cloudflare services for the purposes of increasing the security and performance of their web sites and services.
Please refer to my previous post regarding how to host your website on GoDaddy. If you didn’t select their SSL option, below is how you can get a free one from CloudFlare.
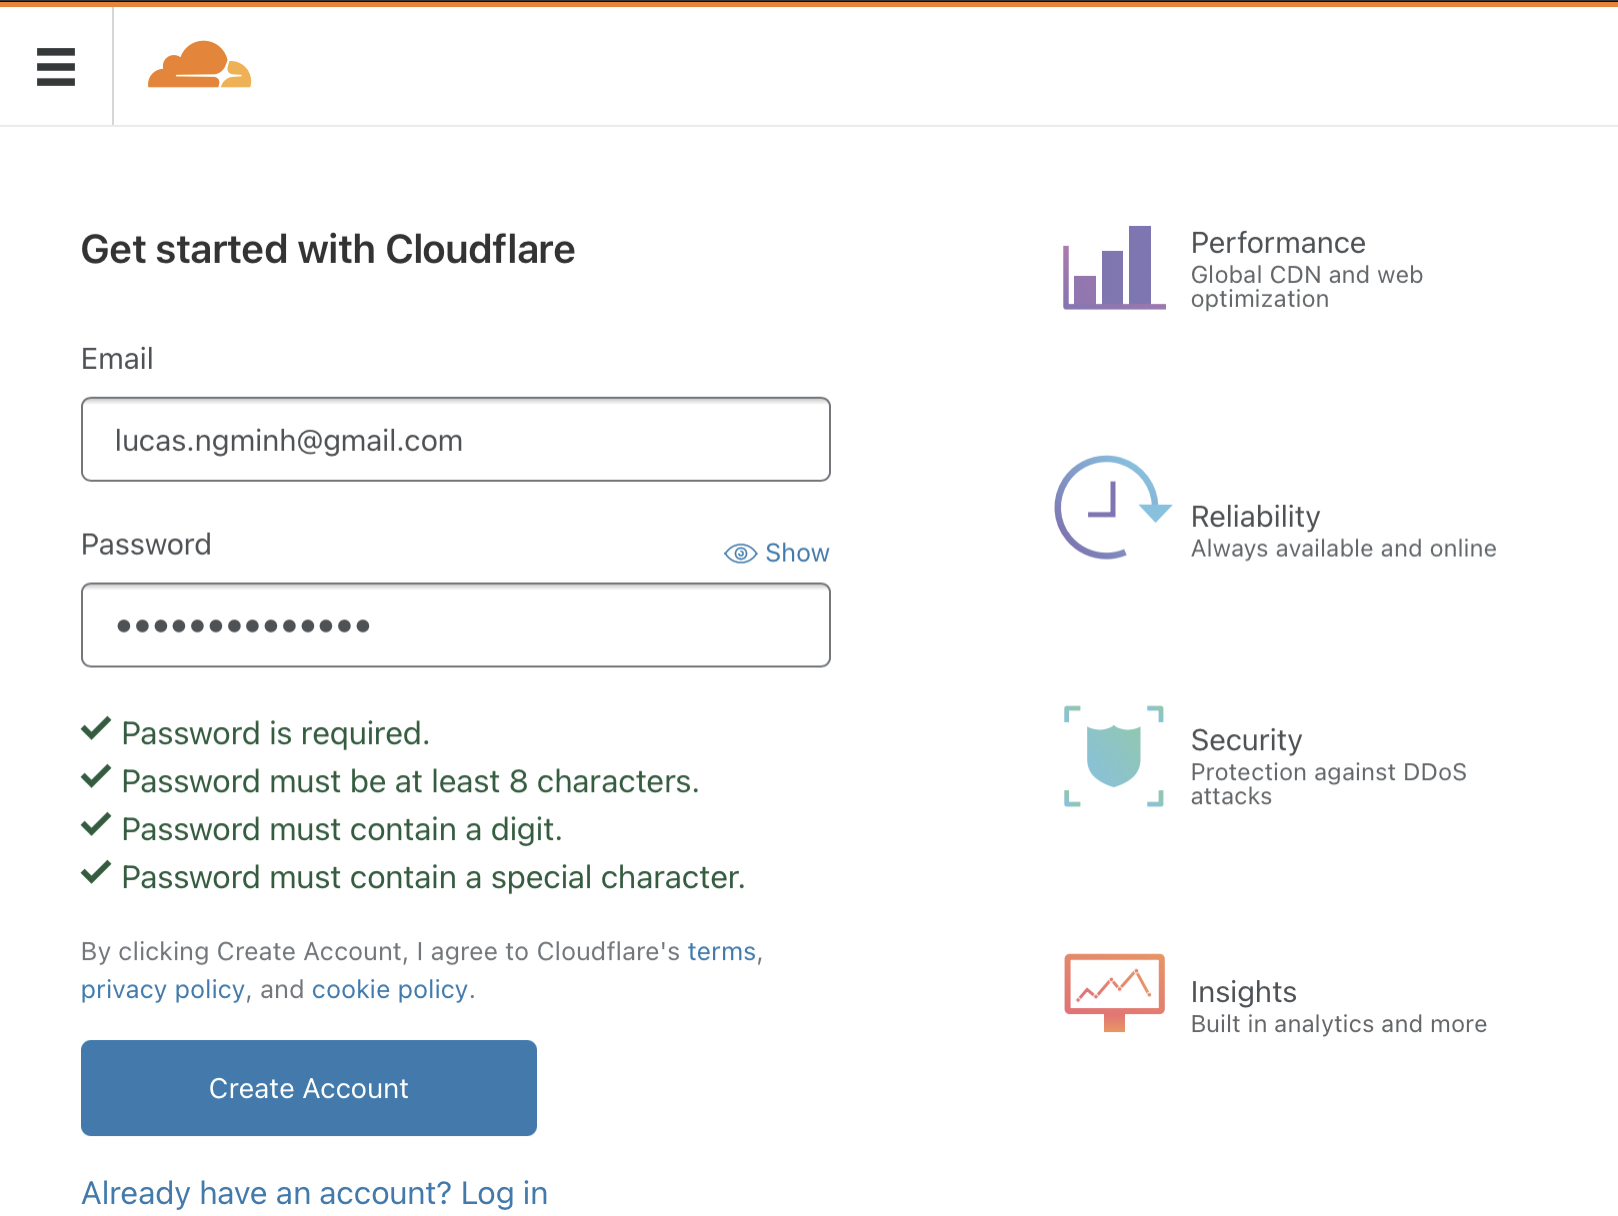
1. Create a Cloudflare account
Go to Cloudflare.com to register yourself an account.
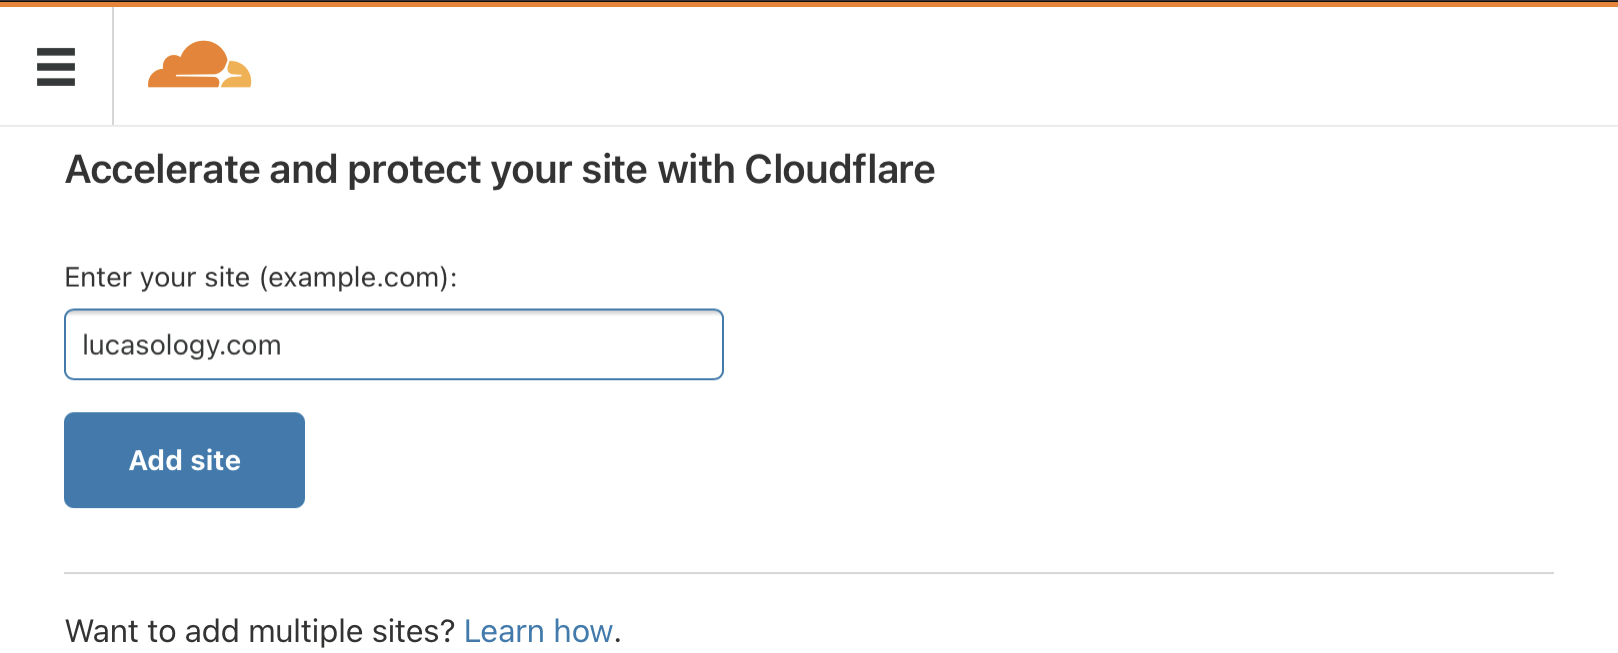
2. Enter your site URL
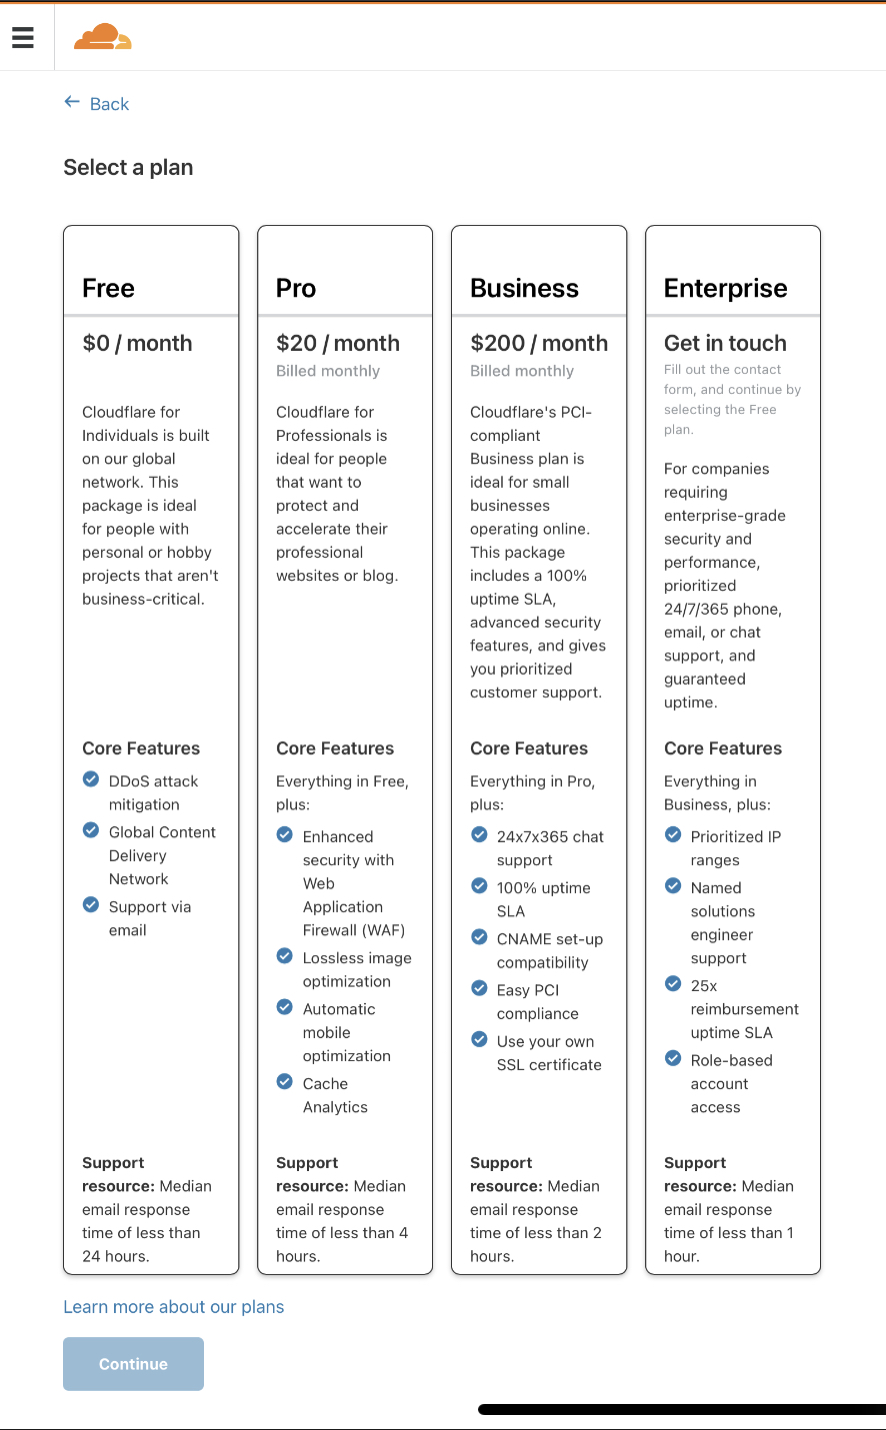
3. Select a Plan
Cloudflare offers different plans including a free one. I am using a free plan and so far so good. Below is detail of each plan.
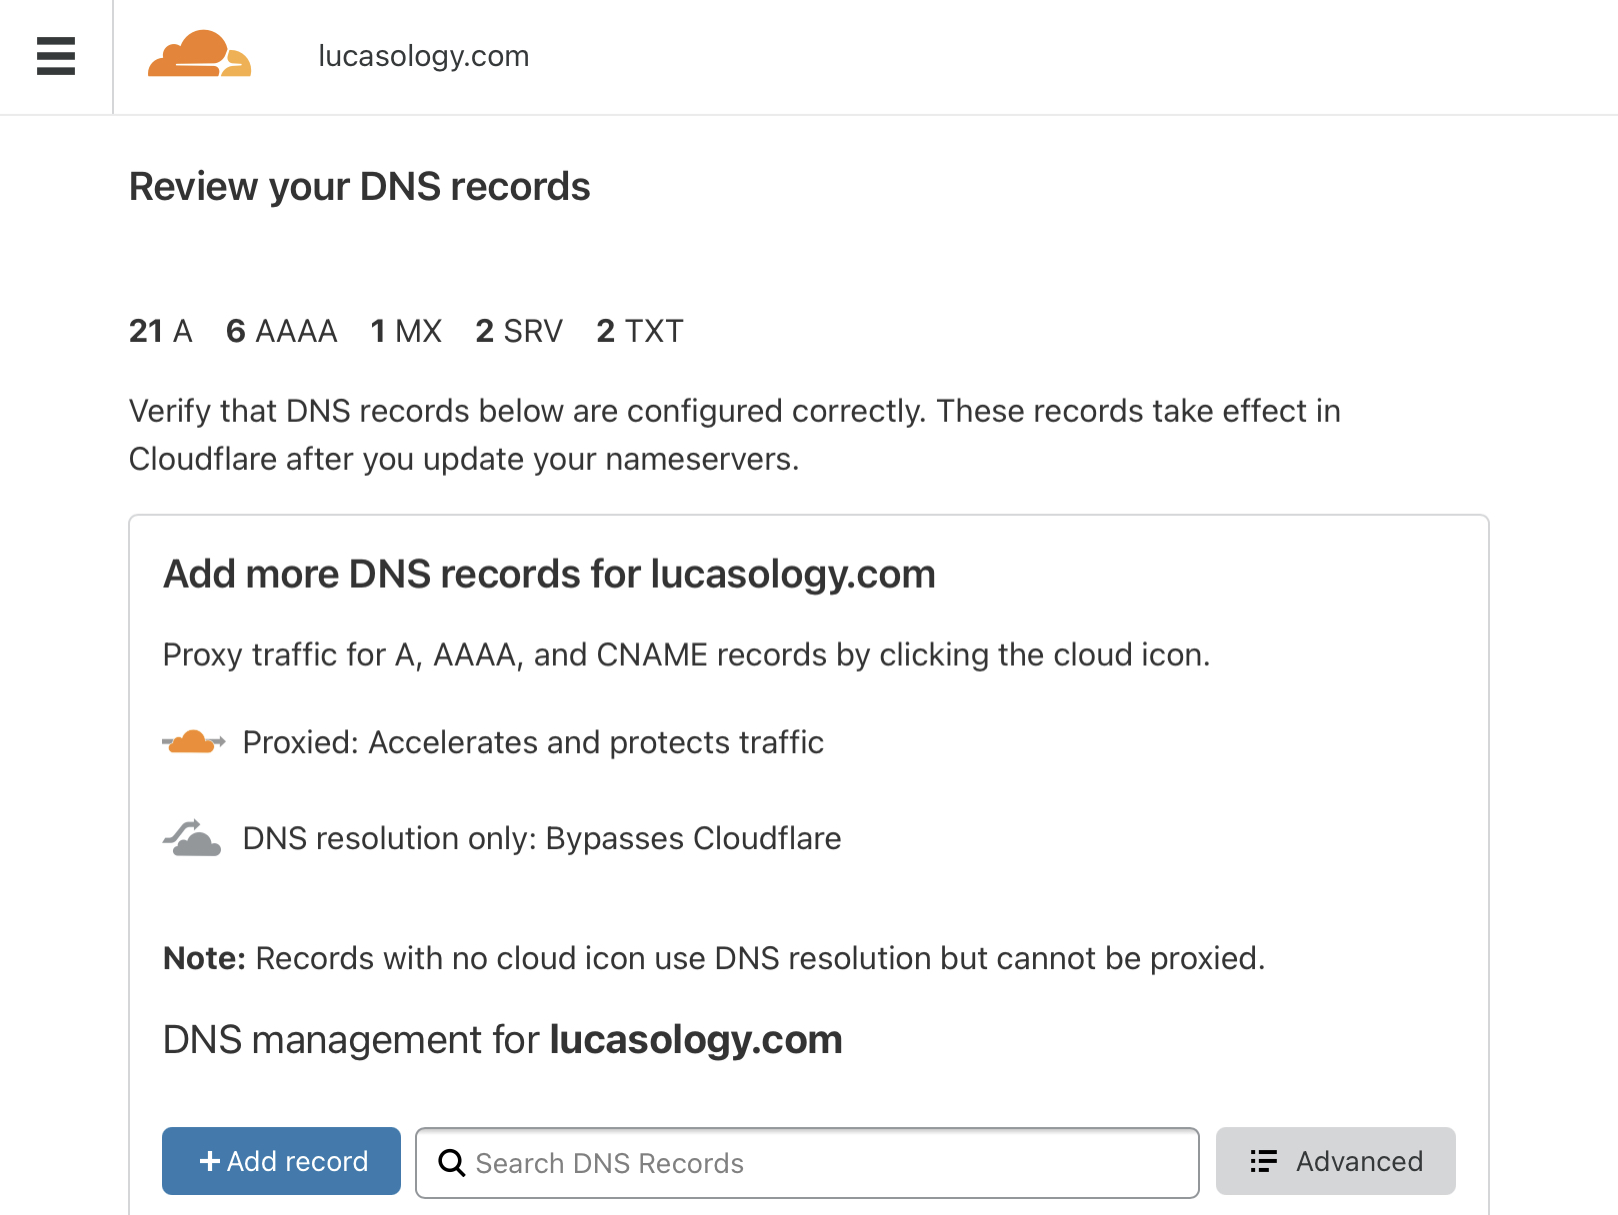
Select Continue, Cloudflare will scan your site DNS. Review it and Continue:

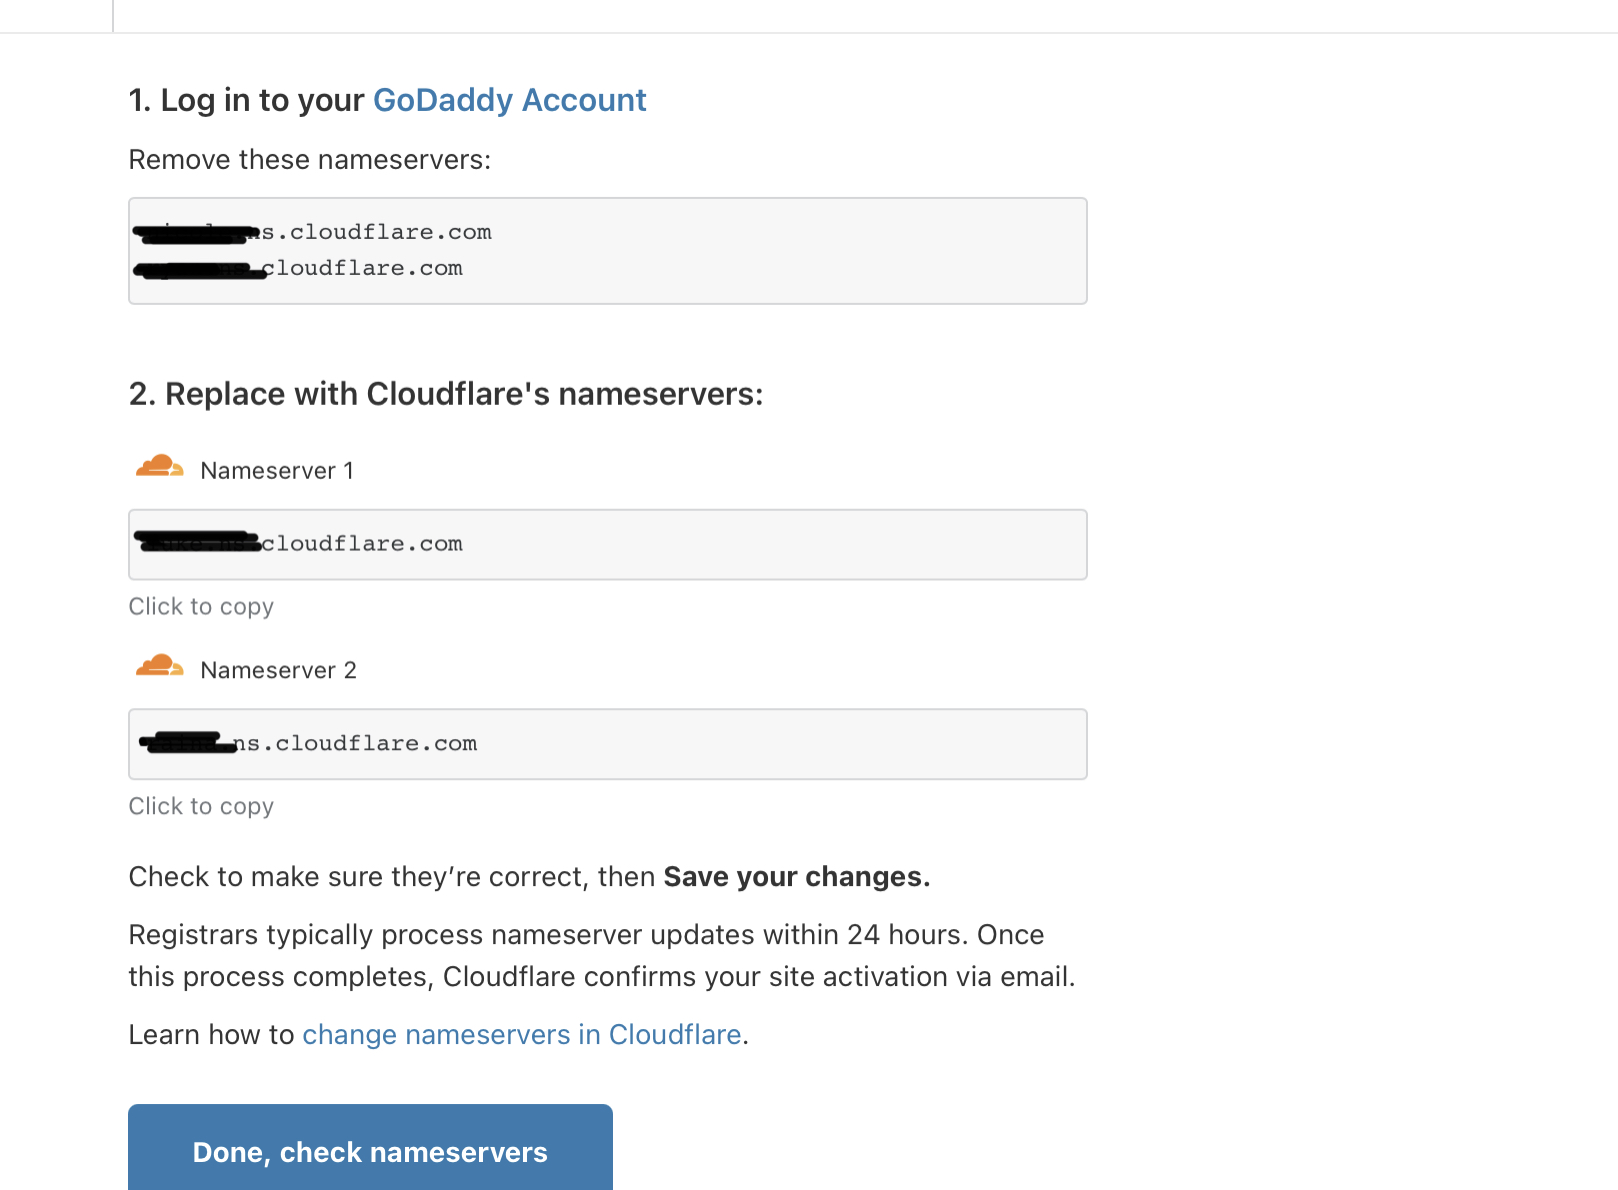
4. Change your Nameservers
Cloudflare will ask you to login to your GoDaddy account and change the name server. Follow their instructions:
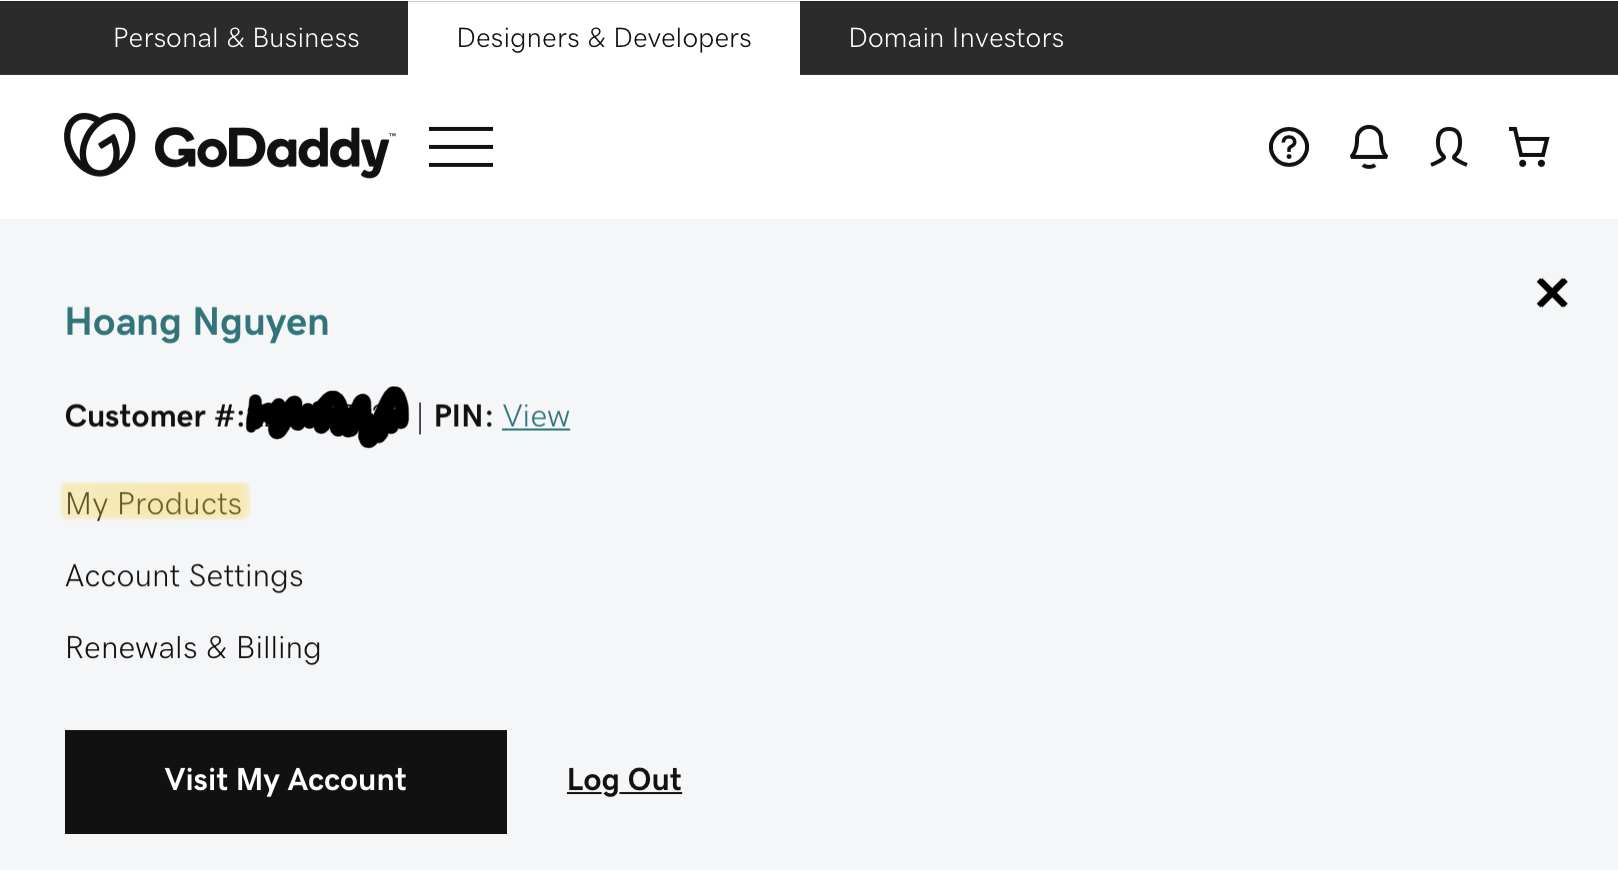
Login to your GoDaddy account, go to My Products and then click on DNS:
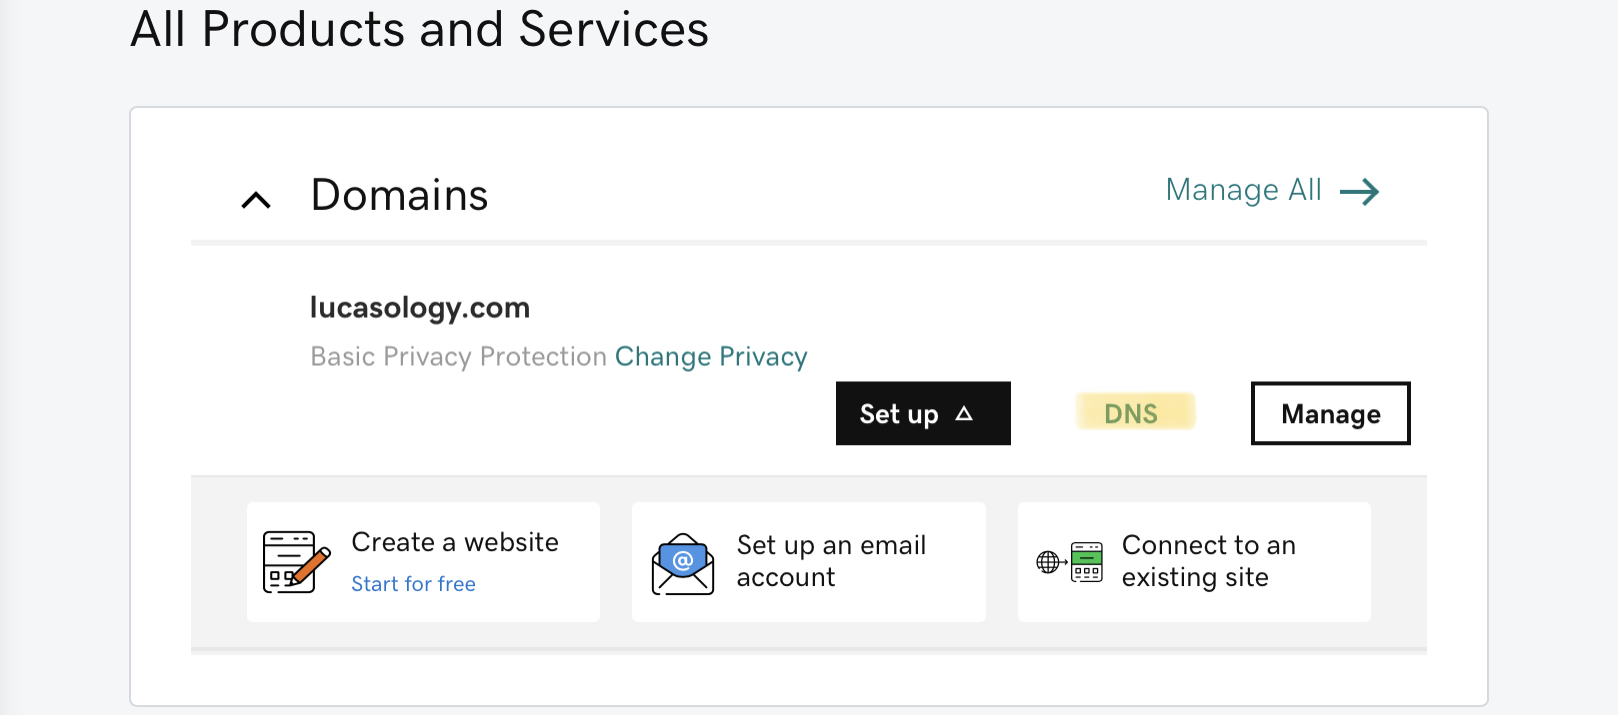
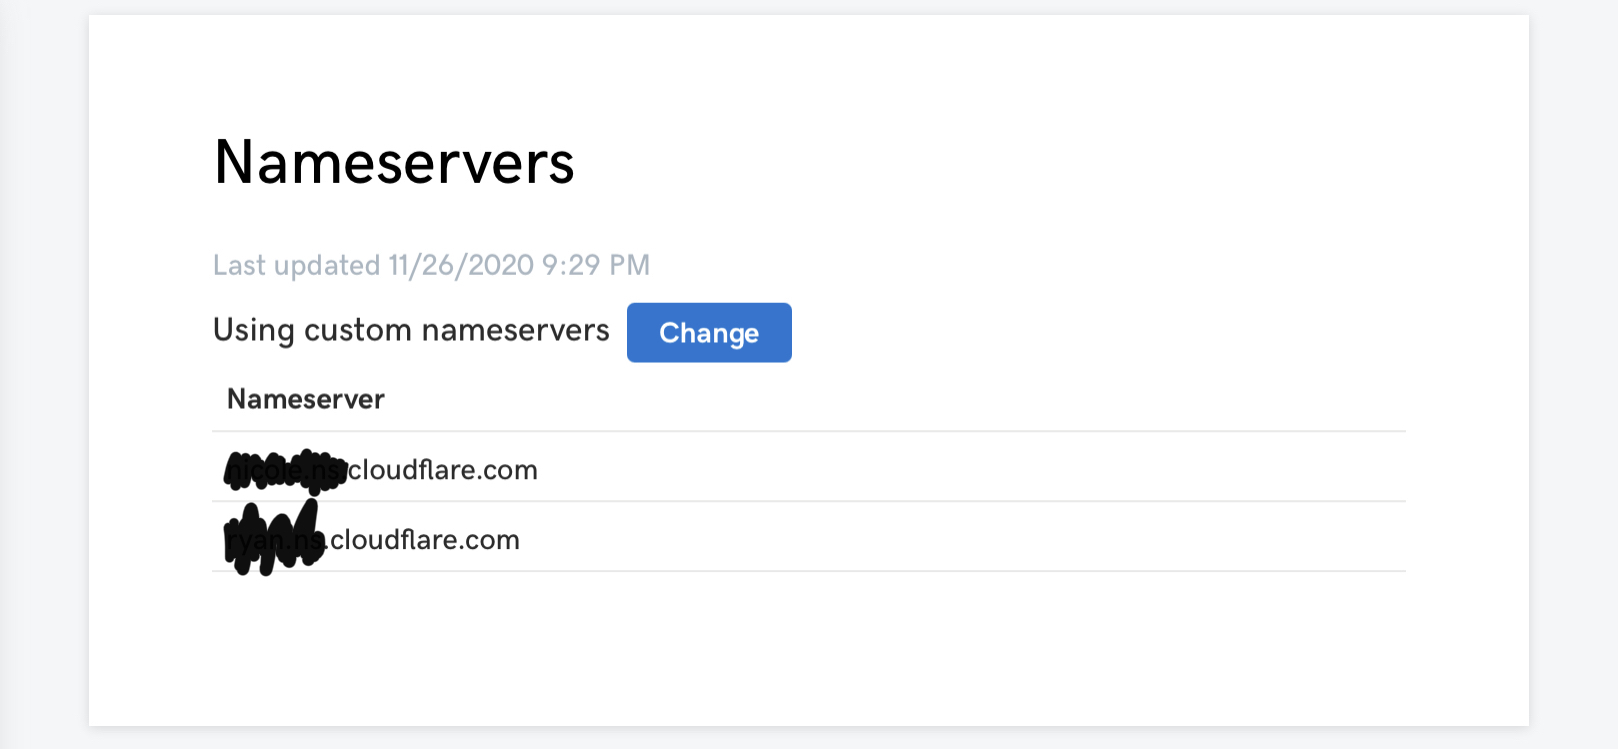
Scroll down to Nameservers and update it. There will be a warning but you can update it back to the original anytime. It may take a while to update so your website may not reflect the change right away.

5. Enable SSL in GoDaddy Window Hosting Plesk
You need to enable SSL from your GoDaddy server otherwise your website won’t be accessible. You may encounter HTTP 404 error.
Go to GoDaddy > My Products > Web Hosting > Manage > Plesk Admin > Hosting Settings, check both checkboxes under Security and Apply.


Check both checkboxes under Security:

6. Complete your Cloudflare settings
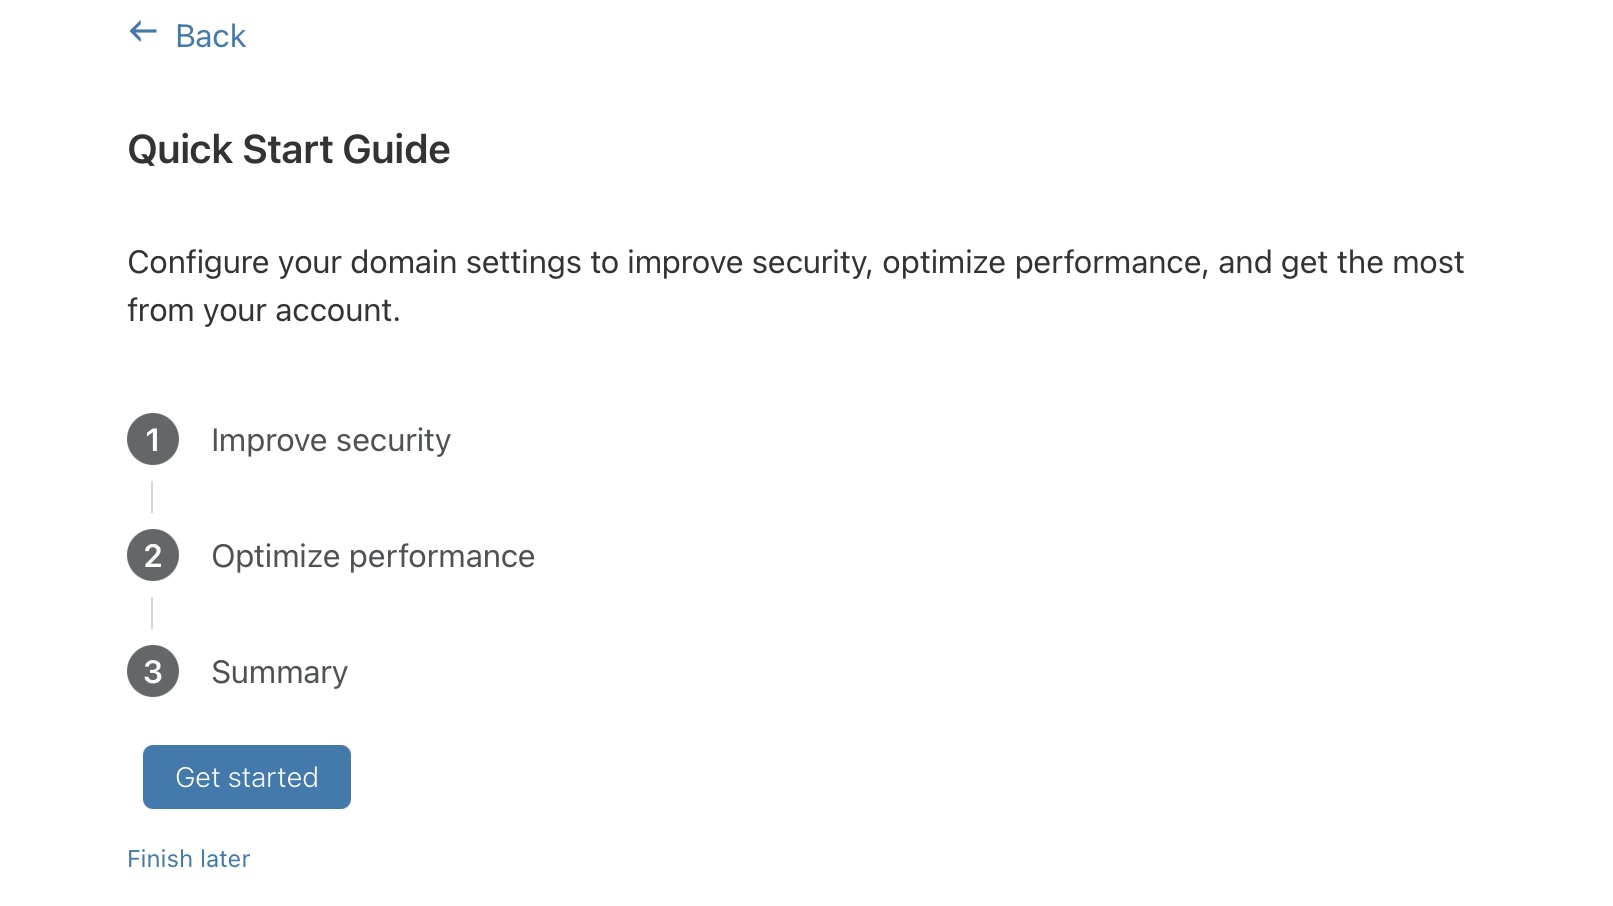
Go back to Cloudflare, click on Done, check nameservers and complete the settings.

Select Full mode under SSL/TLS:
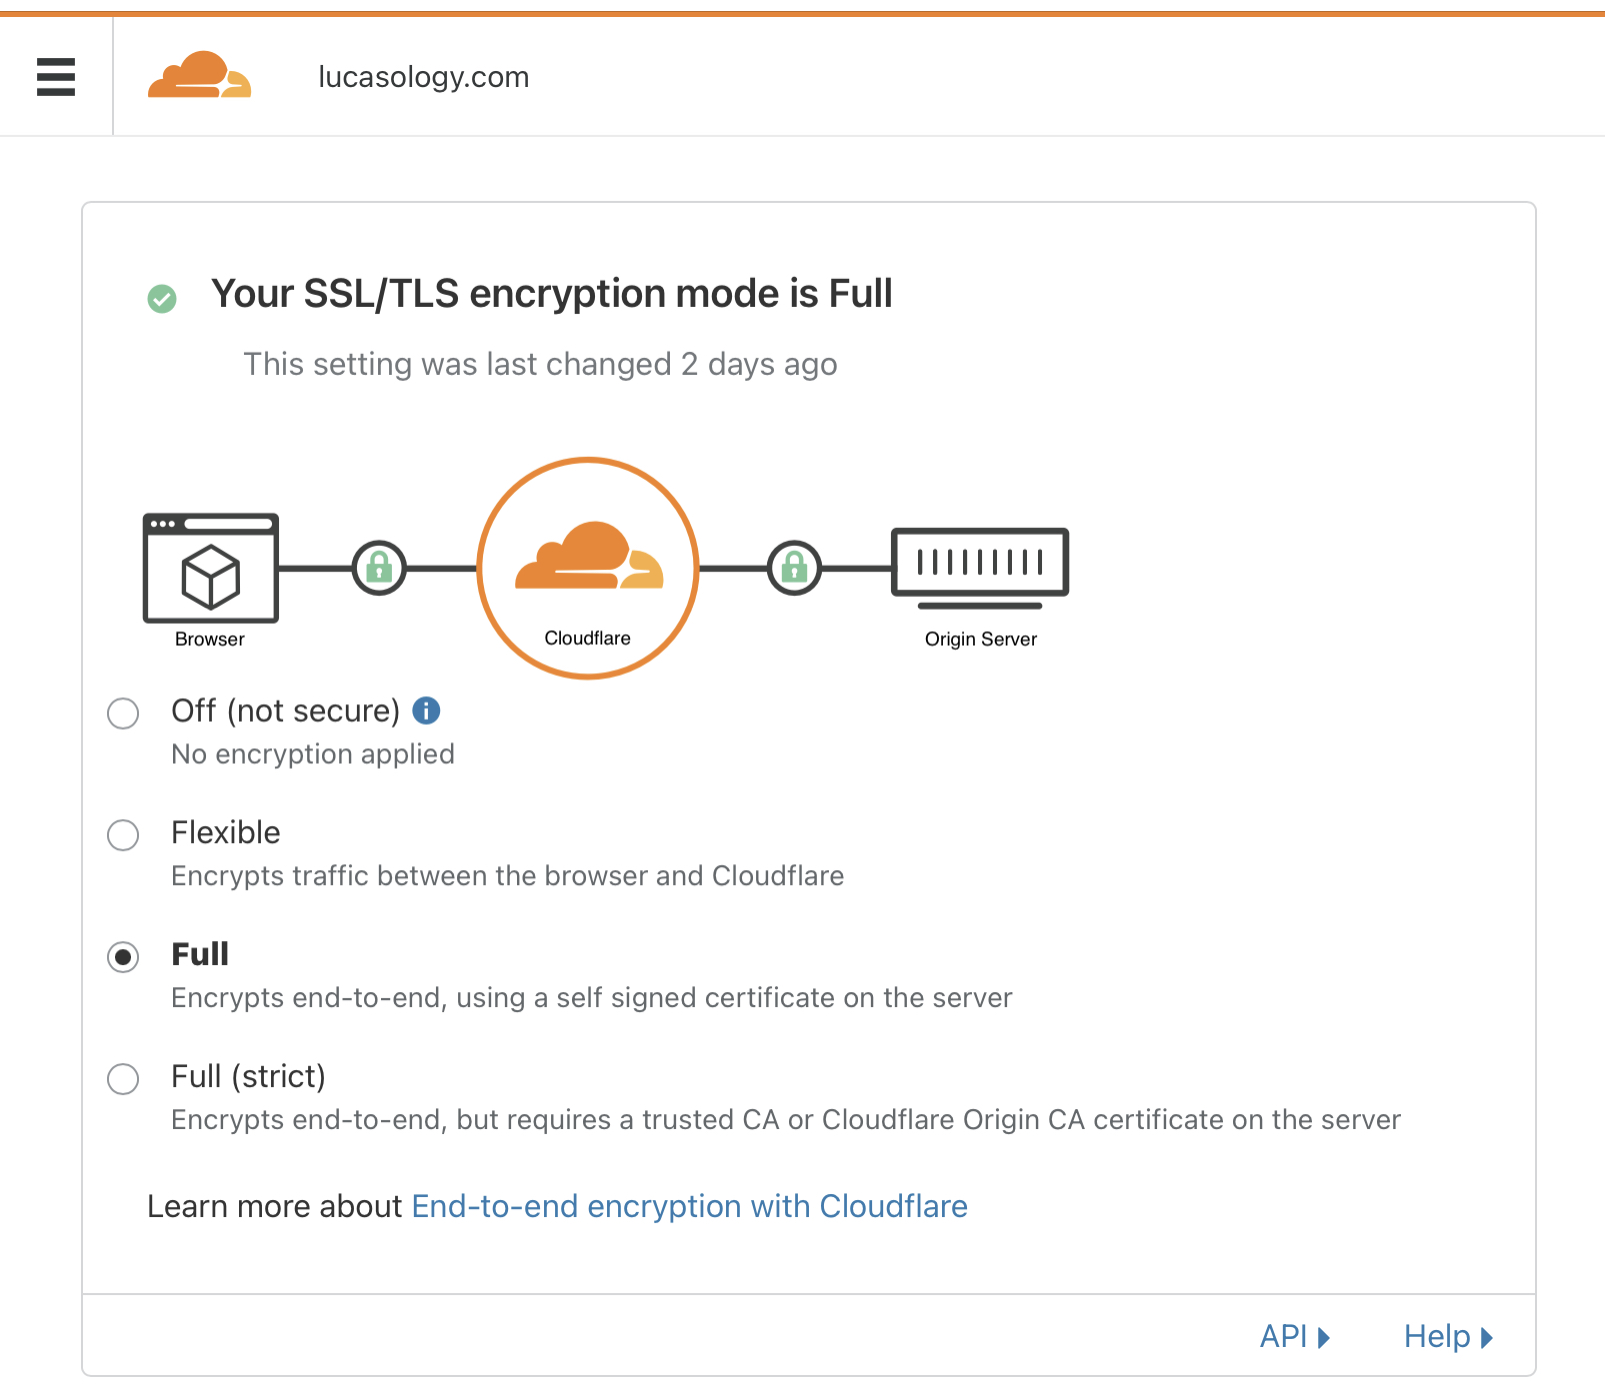
Now, your website is more secure with SSL! Please note that it may take a while for Cloudflare and GoDaddy update on their side so check your website in few hours later.
