If you have a Website or a Web API developed by using .Net Core and looking for a way to publish your applications, this post will explain how to do it using GoDaddy Windows Hosting.
Note: at this moment, GoDaddy supports .Net Core 1.0 and 2.0. Any later versions are not compatible with GoDaddy Windows Hosting plan.
Update 6/2023: GoDaddy is now supporting .Net Core 3.1 and up to .Net 6.
1. Select a Hosting Plan from GoDaddy
Go to GoDaddy.com and select a Windows hosting plan that you would like to purchase for your applications.
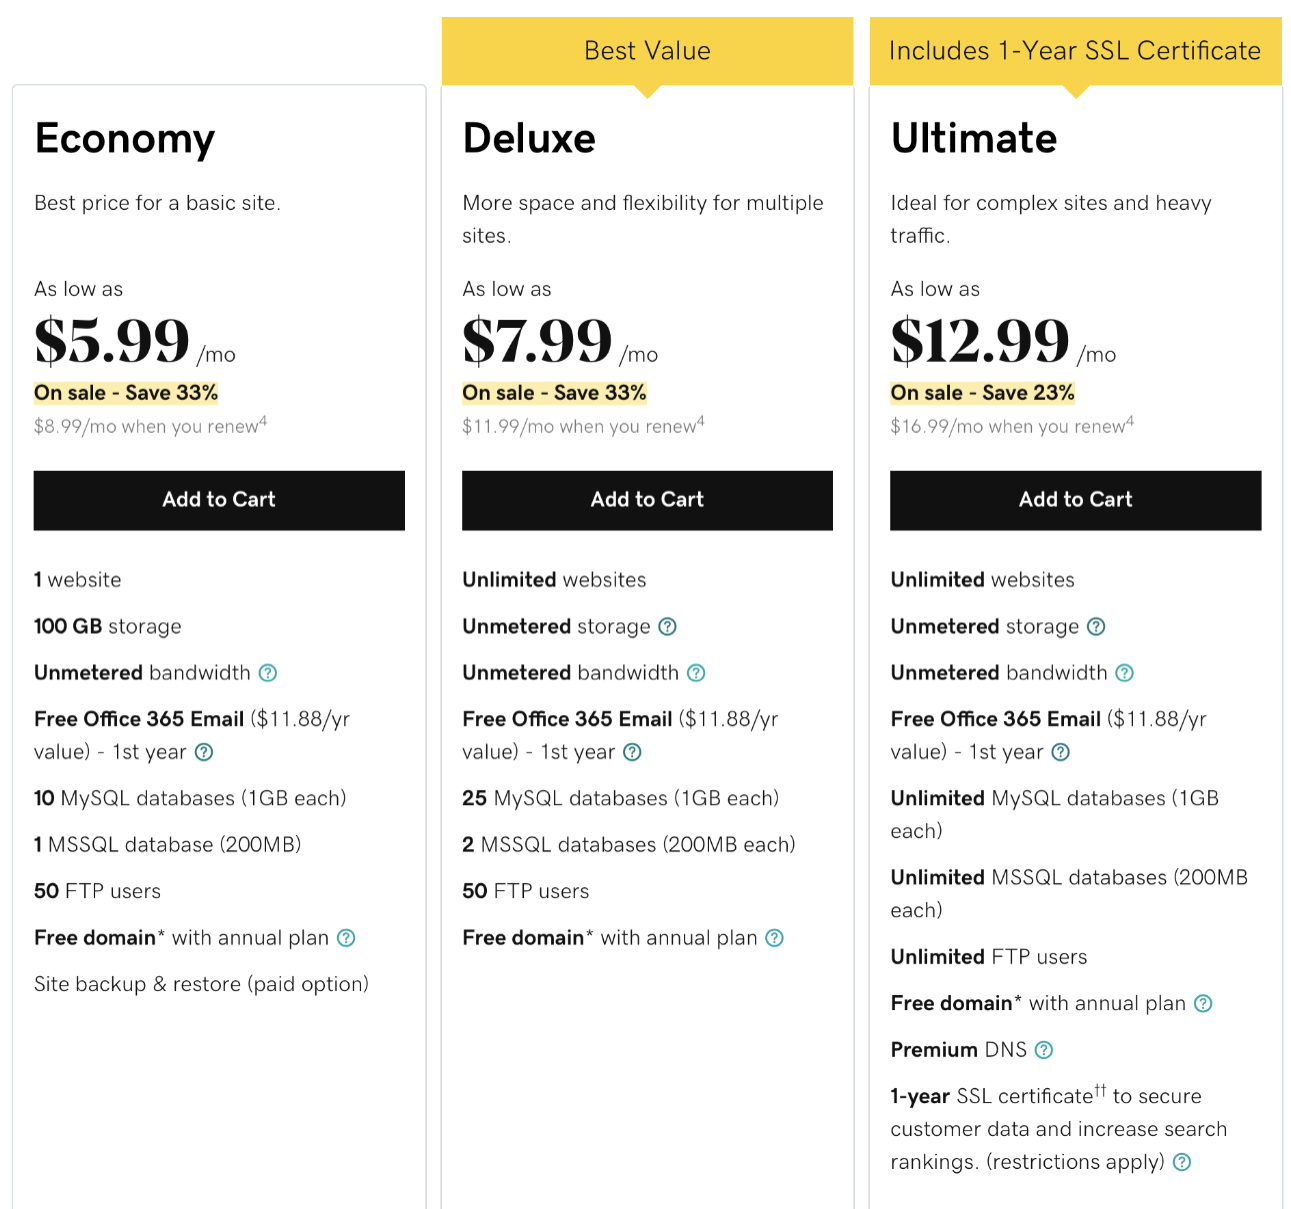
There are 3 plans. I select the Deluxe plan because I may have more than 1 application to host on GoDaddy. For the details of each plan, please see below:
2. Customize your Selected Plan
It depends on your purpose, you can choose the term length and back up option. The longer the term length is, the cheaper the rate is. However, since the period is long so you will end up paying more in front.
Note: it’s up to you to add SSL option which charge you $6.67/month. However, there are many ways to get a free SSL certificate for your website like using CloudFlare or LetsEncrypt. I have a post guiding how to implement Cloudflare SSL certificate with GoDaddy
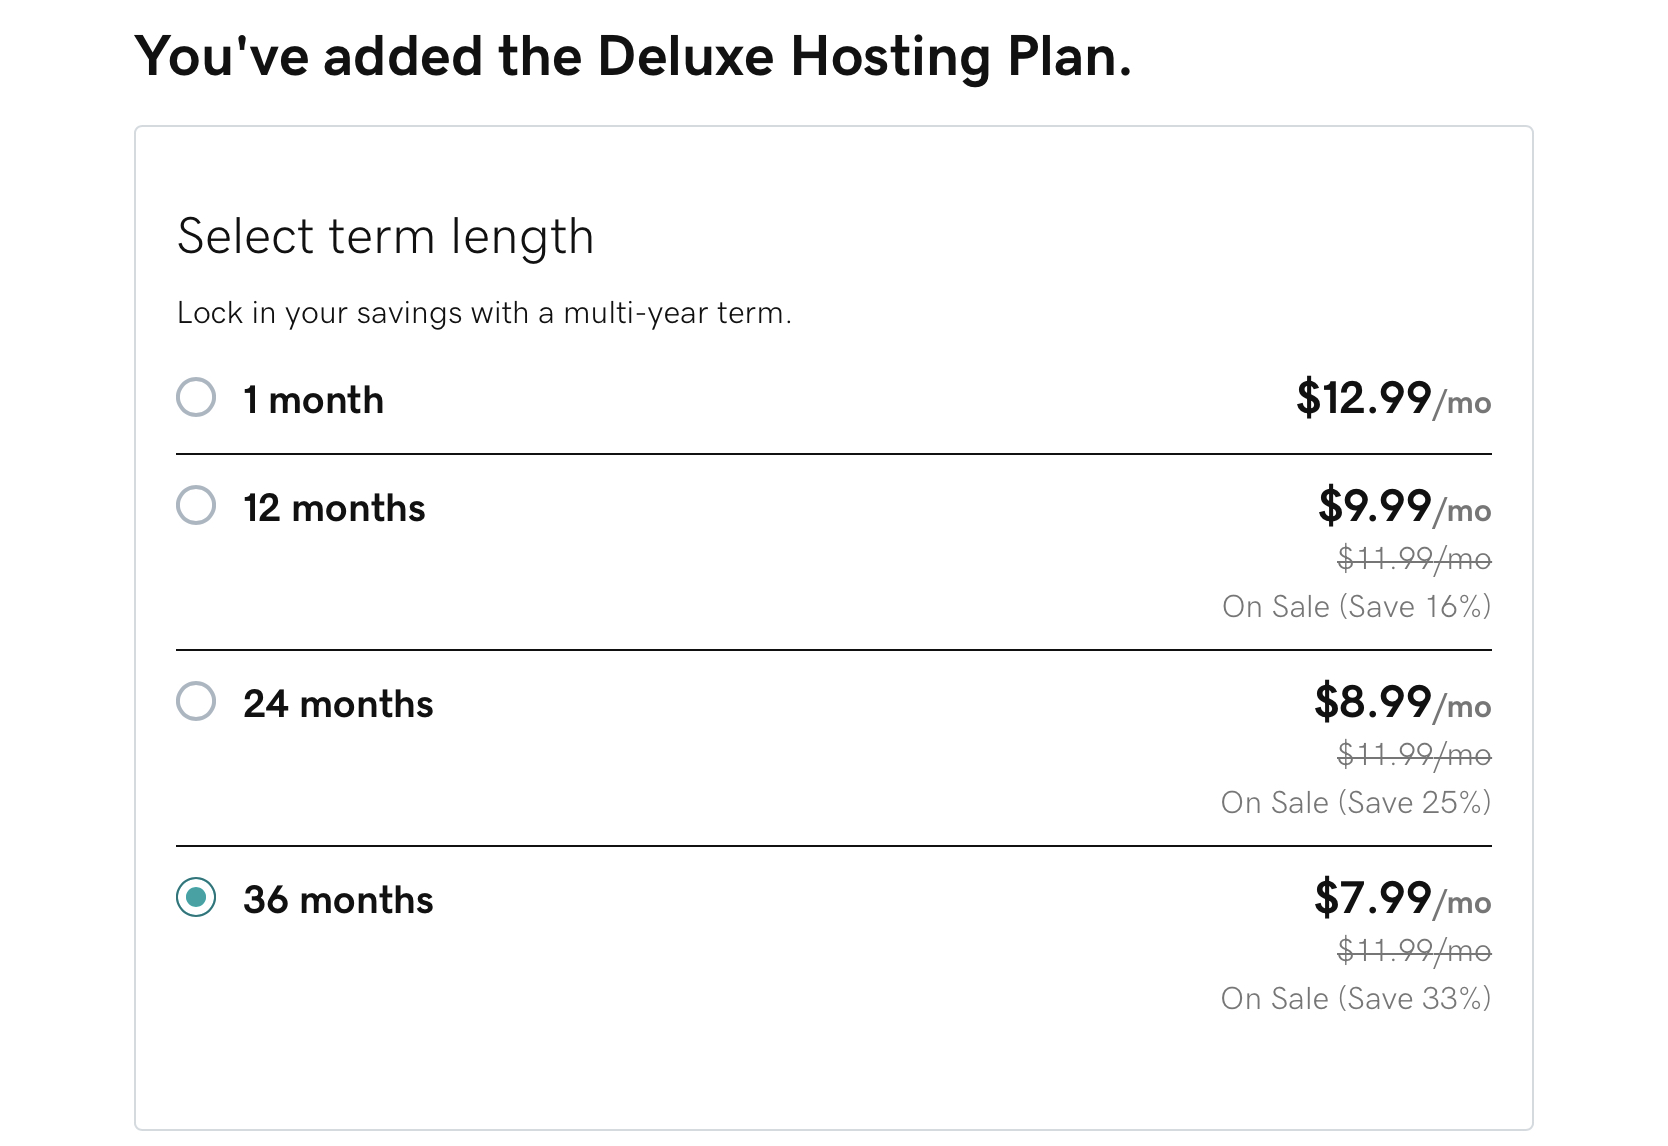
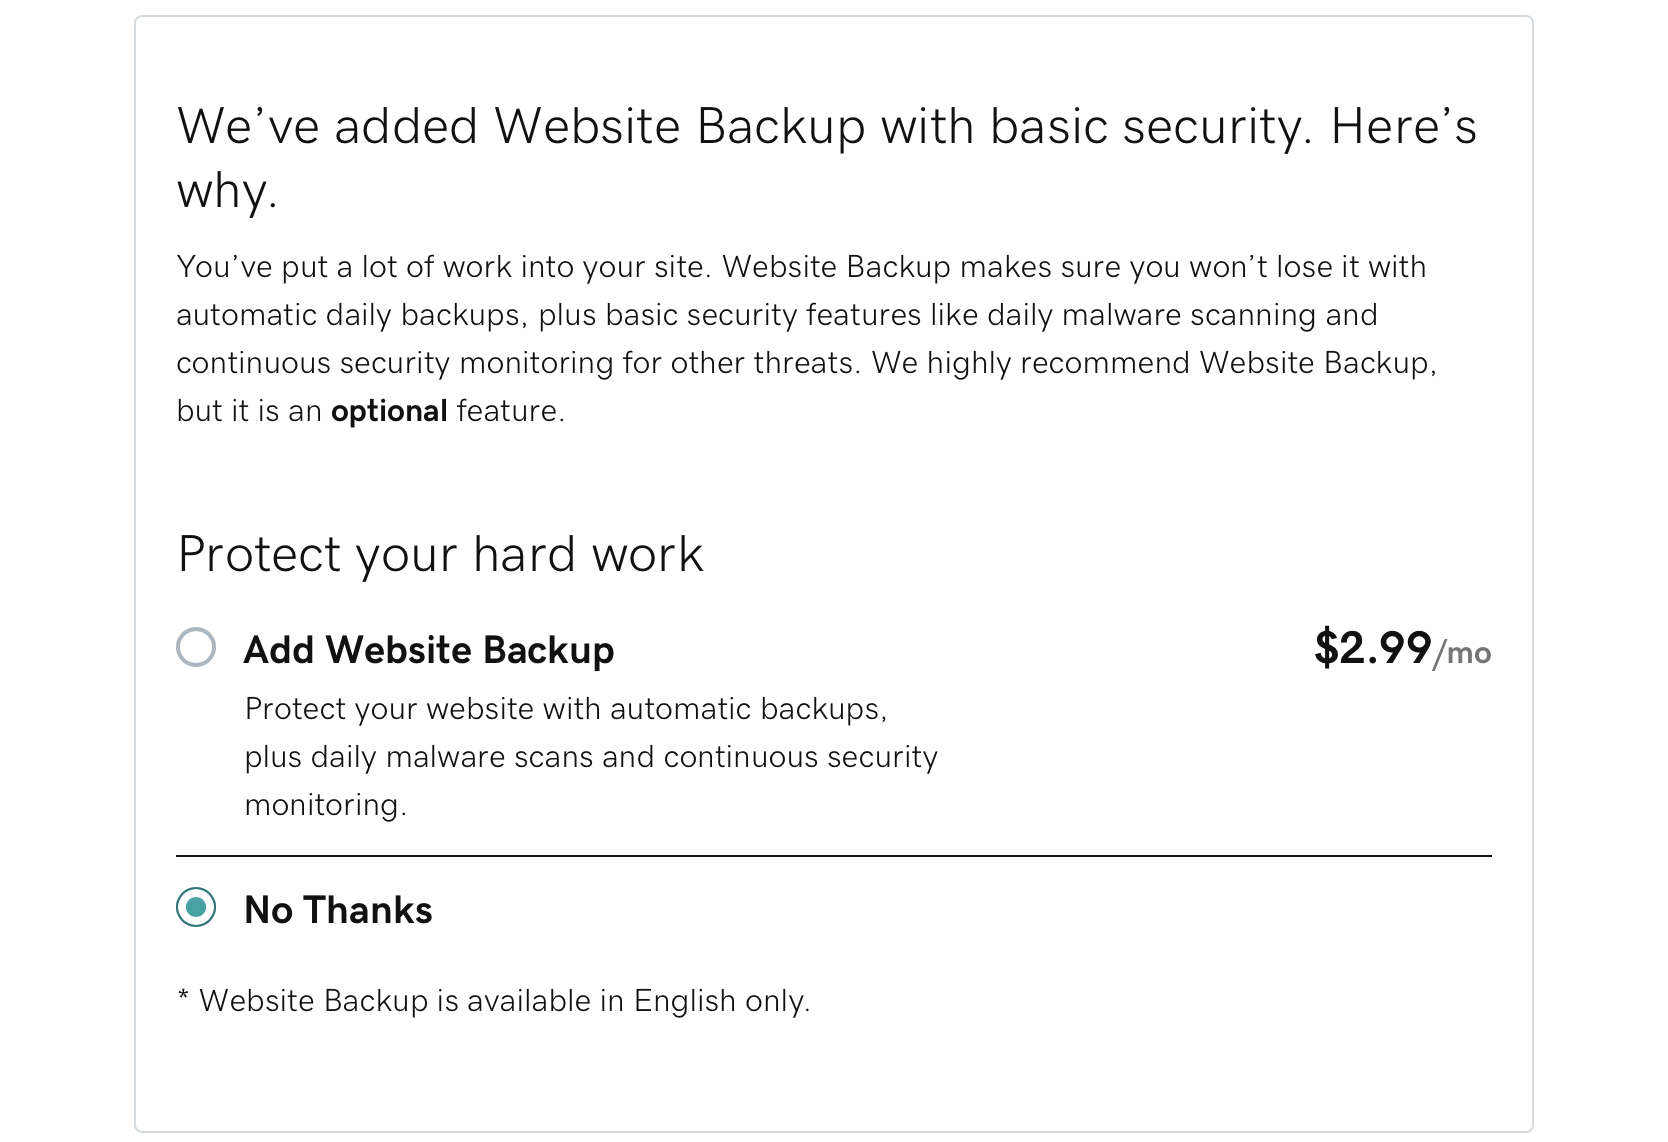

Once you finish customizing your plan, you will be able to get a free domain with this order.

After purchasing, you can set up your web hosting by connecting it to your domain.
3. Download Web Deploy Publishing Settings
Follow below steps to download publishing profile which is used to publish the .Net Core application from Visual Studio.
a. You can sign in to GoDaddy to review your products:
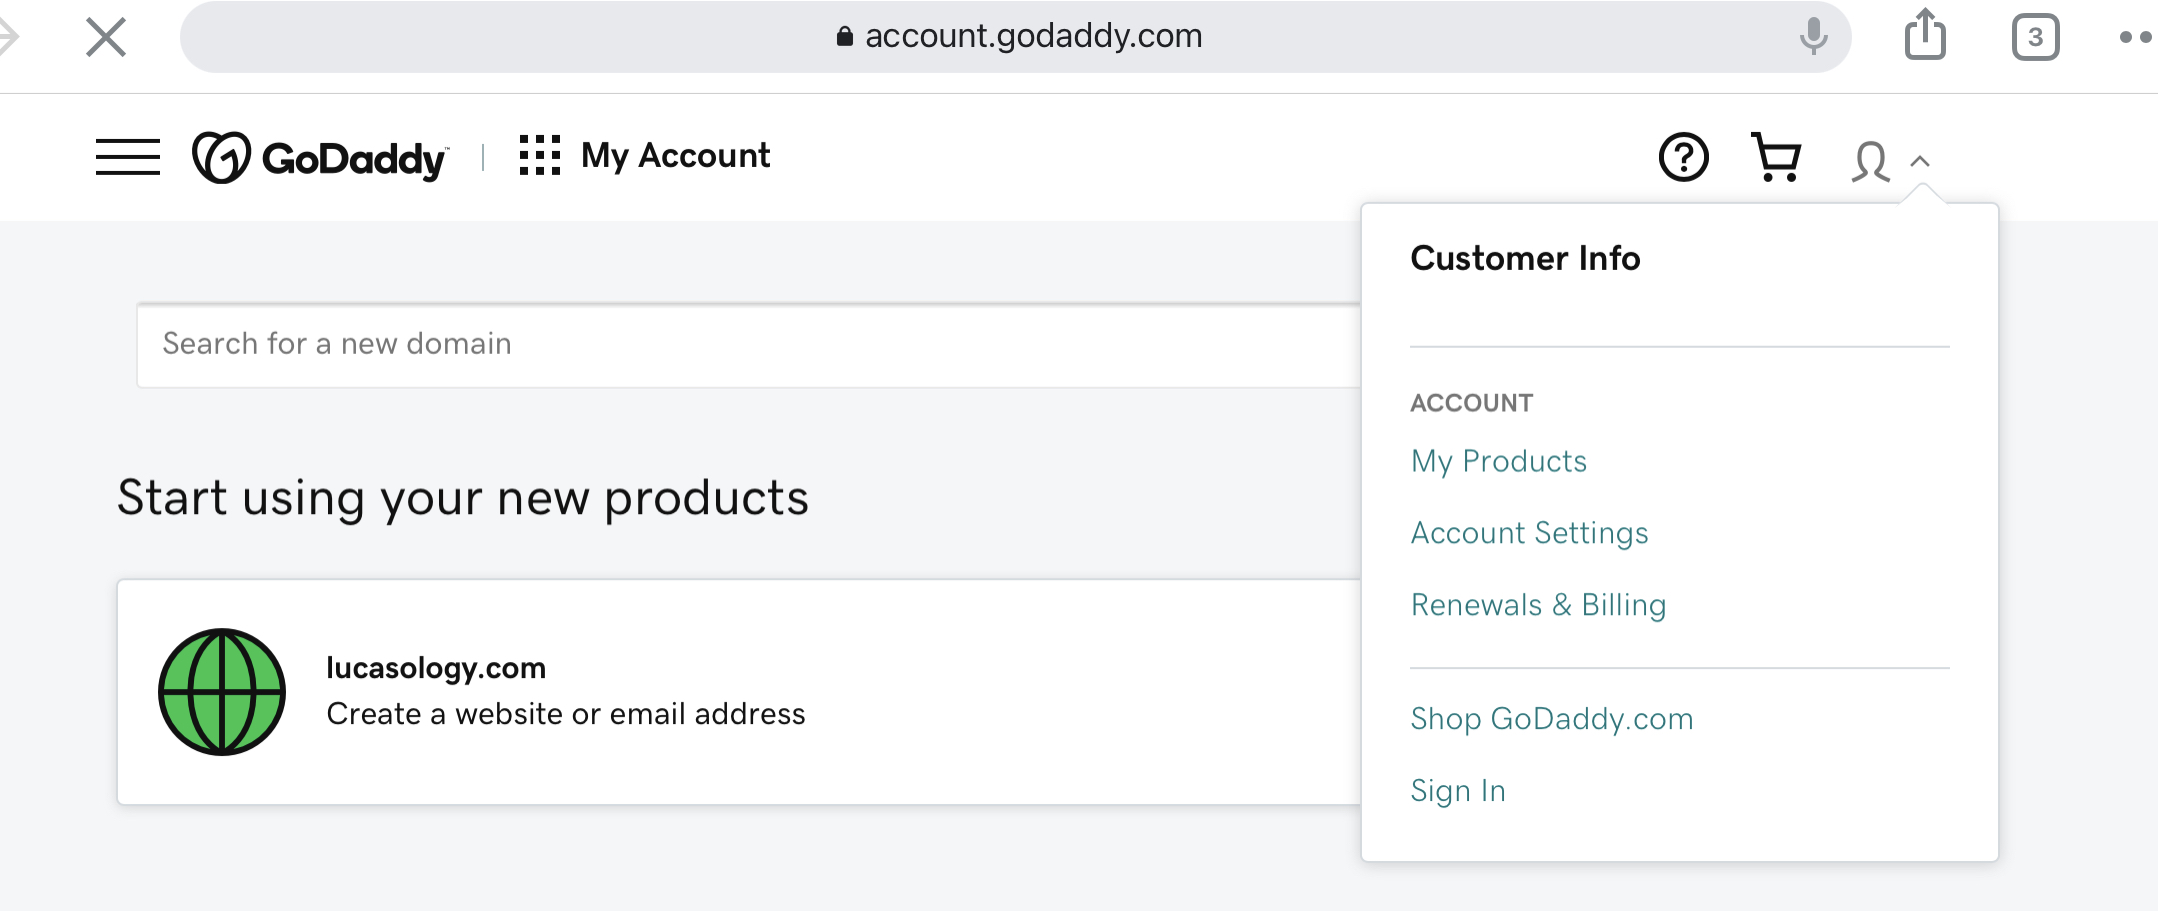
b. Then, scroll down to Web Hosting and click on Manage:
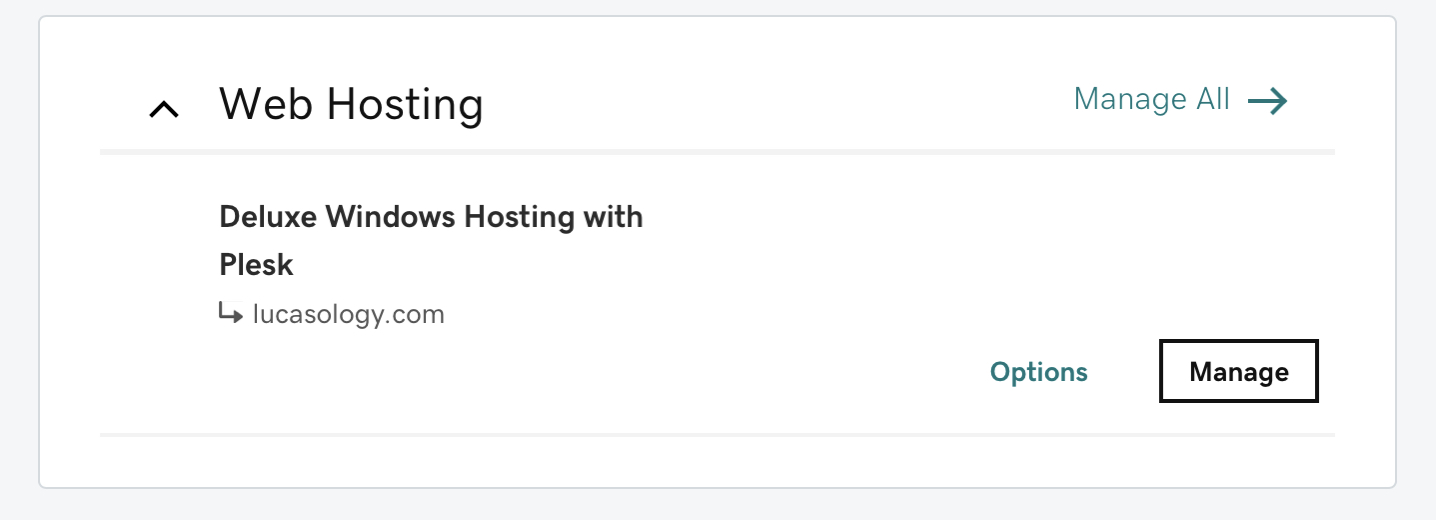
c. Click on Plesk Admin to go to set up and manage website page:

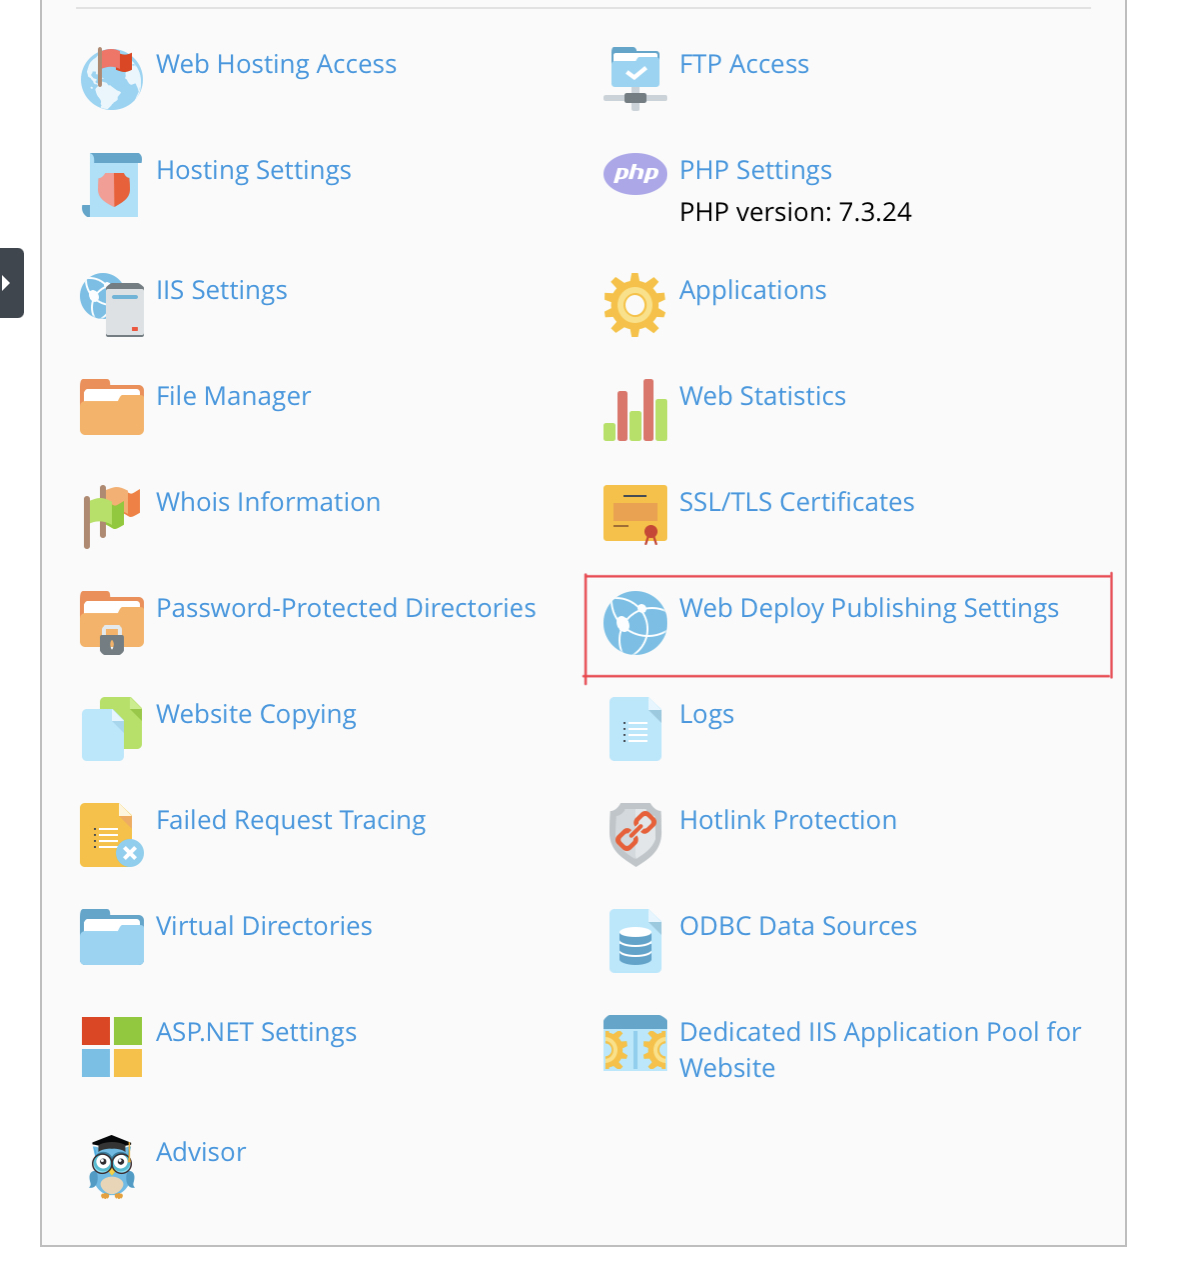
d. Click on Web Deploy Publishing Settings to download publish profile:
4. Publish your Application to GoDaddy Hosting server
Once you downloaded the publish profile from Plesk Admin, you are now able to publish your website using Visual Studio. Open your project in Visual Studio and start to publish. In this tutorial, I am using Visual Studio 2019 to publish my website: Lucasology.
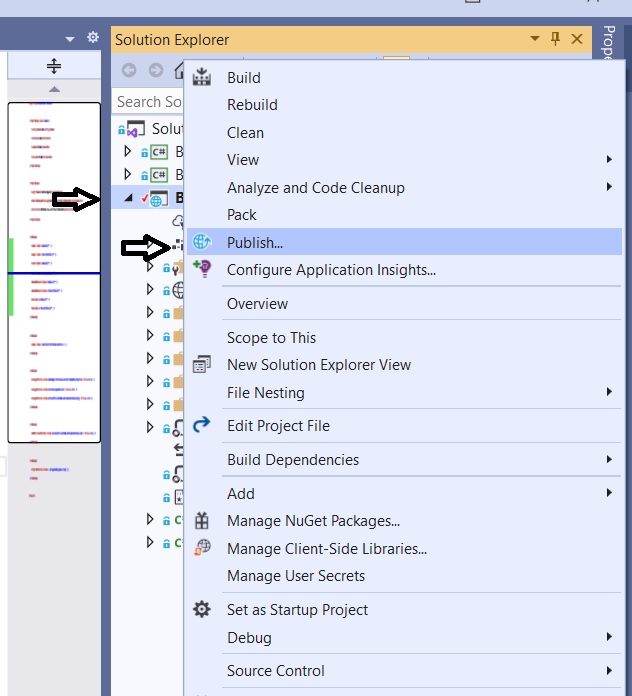
a. Open your application in Visual Studio 2019, right click on your project solution and select Publish:
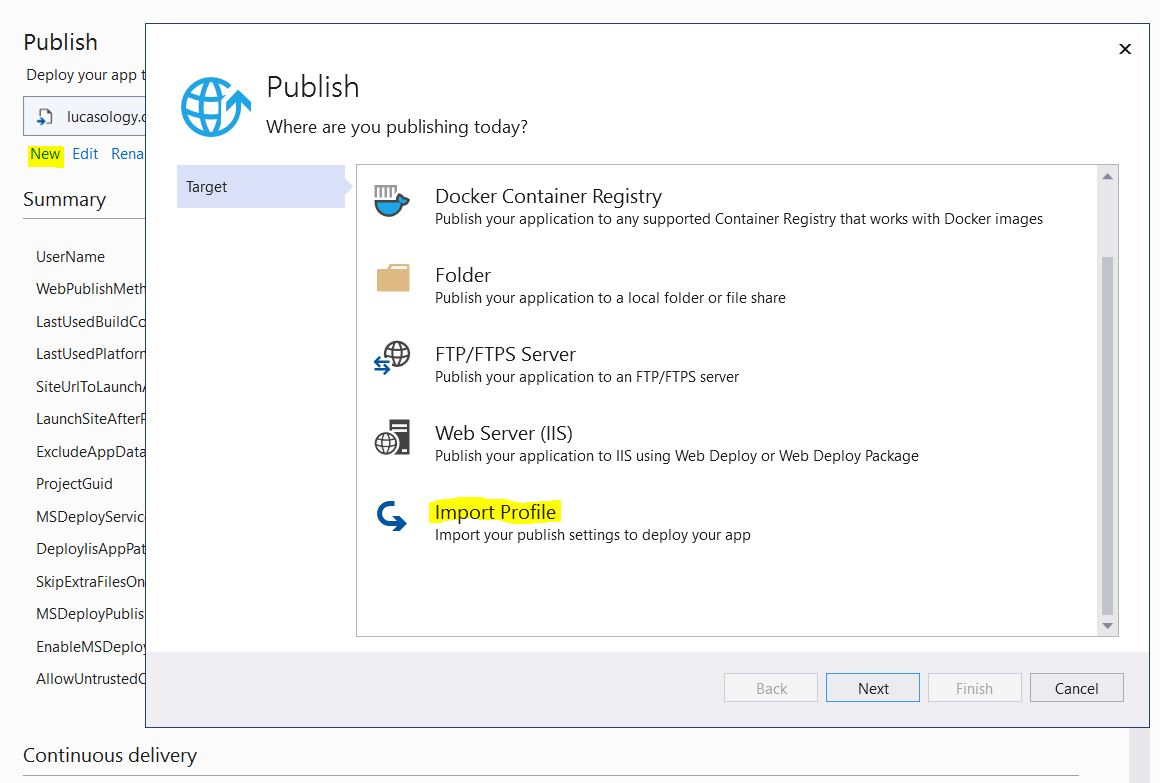
b. Select Import Profile to import the downloaded publish profile on Publish panel:
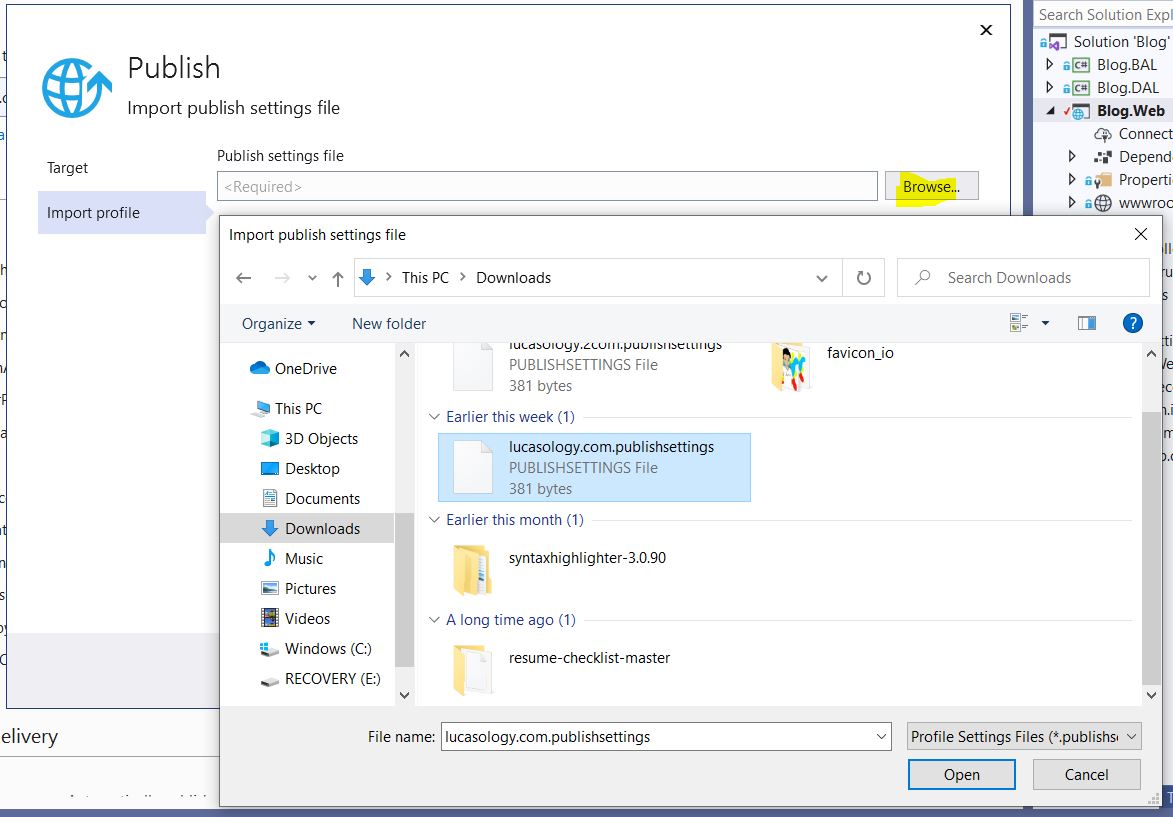
c. Browse the downloaded publish profile and select the file and click on Open:
d. Publish your Application by clicking on Publish:

Then, if there is no error while publishing your website, you are succeeded.
5. Some common errors while publishing your .Net Core Application
I have encountered few errors while trying to publish my website to GoDaddy. Below are the errors I talked about.
a. ERROR_CERTIFICATE_VALIDATION_FAILED
When I tried to publish the first time without modifying the publish profile file, I encountered the certificate validation error. Below is the details of the error message:
Connected to the remote computer ("XXXXXXXXX") using the specified process ("Web Management Service"), but could not verify the server's certificate. If you trust the server, connect again and allow untrusted certificates.
How to resolve the Certification Validation Error?
Step 1:Open the Publish Profile xml file under Properties\PublishProfile folder:

Step 2: Add below xml tag inside <PropertyGroup><PropertyGroup>
<PropertyGroup>
    <AllowUntrustedCertificate>True</AllowUntrustedCertificate>
</PropertyGroup>
Save the file and then publish the website again, the issue will be resolved.
b. HTTP Error 502.5 - Process Failure
After publishing my website, I encountered the 502.5 error when opening the website on browser. Below is the screenshot of the error details:
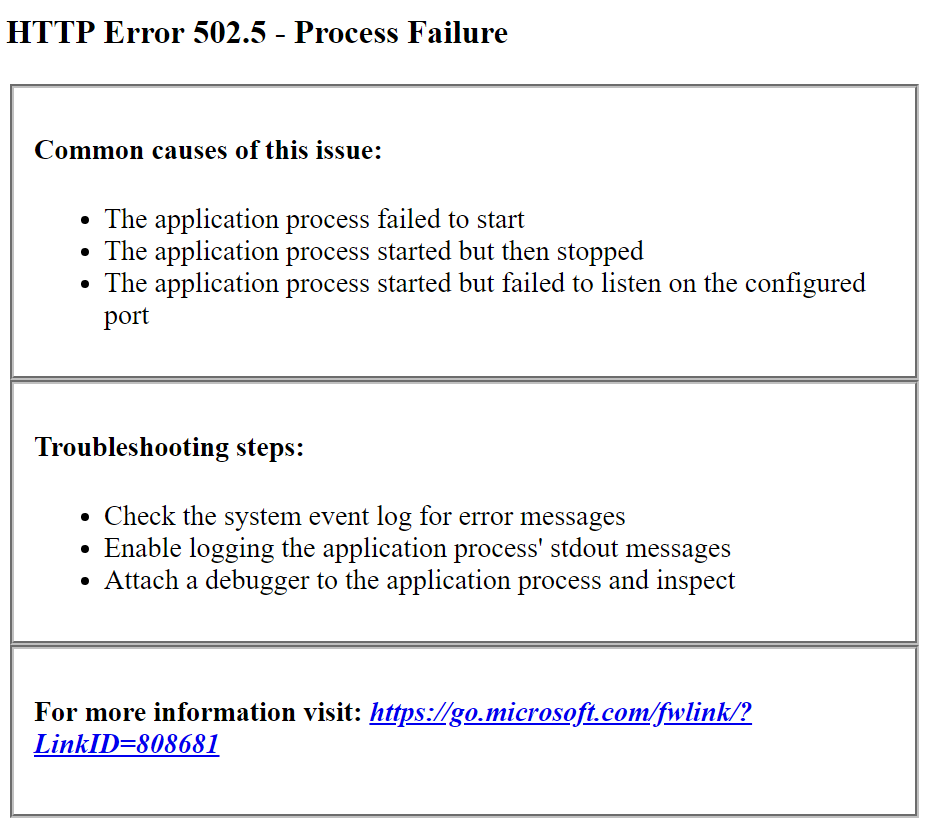
How to resolve the 502.5 error?
Step 1: Double click on solution file to open .csproj file:

Step 2: Add below code in the .csproj file, inside <PropertyGroup></PropertyGroup>
<PropertyGroup>
  <TargetFramework>netcoreapp2.0</TargetFramework>
  <PublishWithAspNetCoreTargetManifest>false</PublishWithAspNetCoreTargetManifest>
</PropertyGroup>
Save the file and publish the website again, the issue will be resolved.
